
A Specialized and Focused Priority

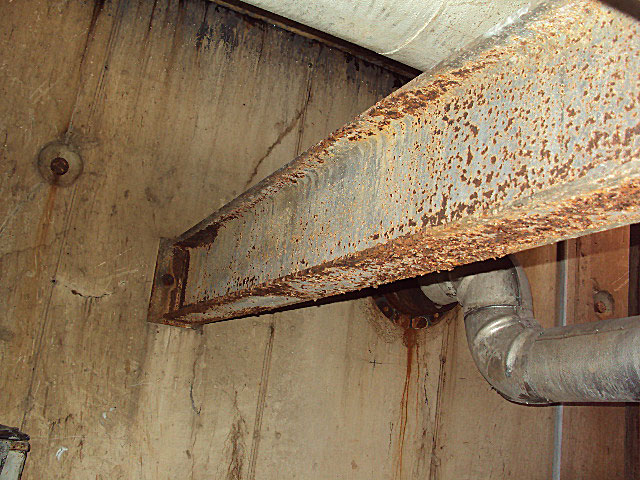
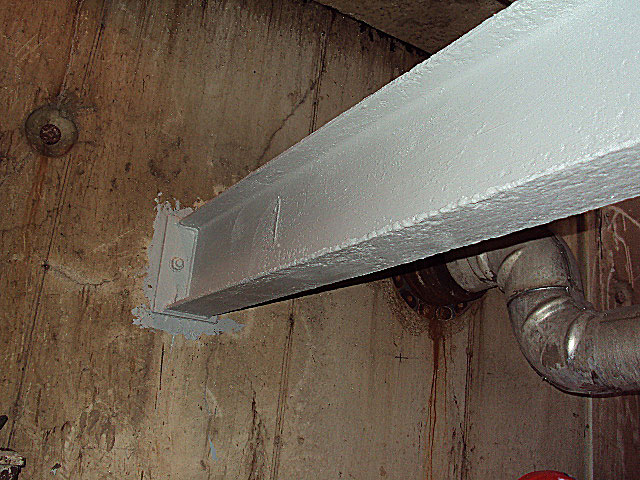
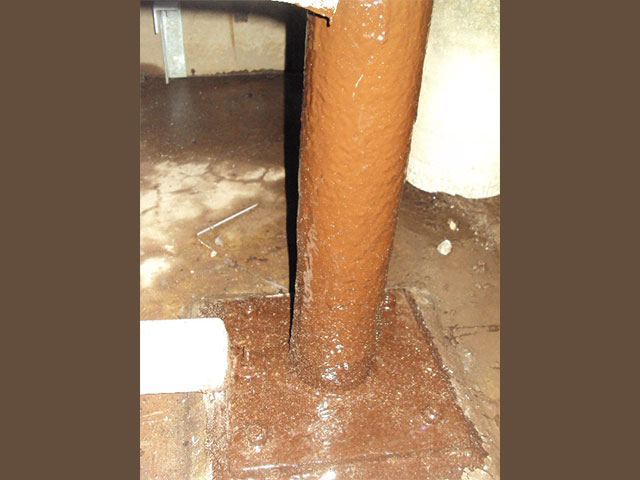
Manhole B2 Pipe Support Beam
Manhole B2 Pipe Support Beam
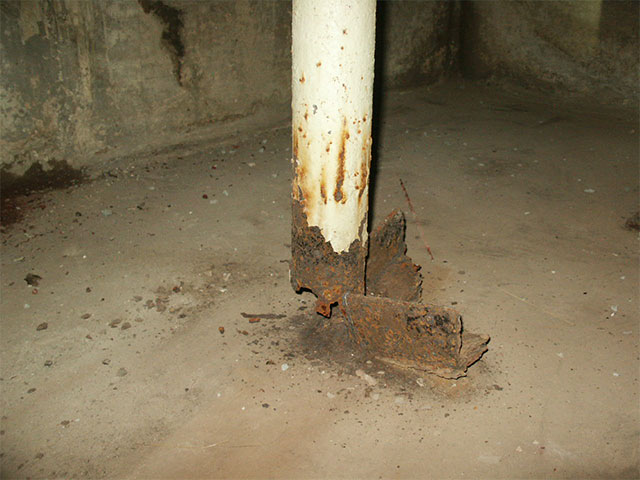
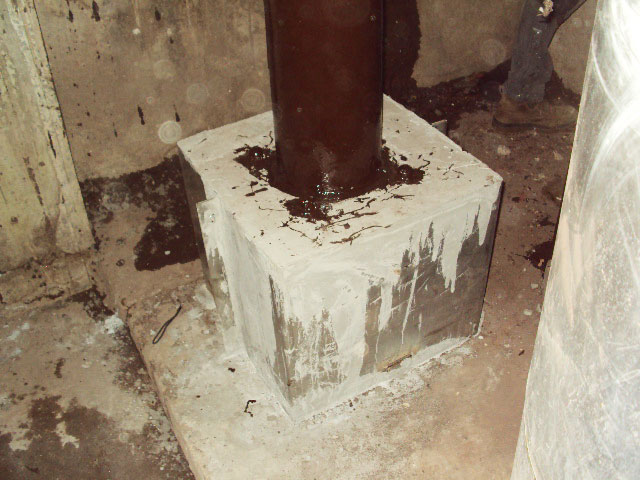
Manhole 9 STM Slip Jt Support
Manhole 9 STM Slip Jt Support
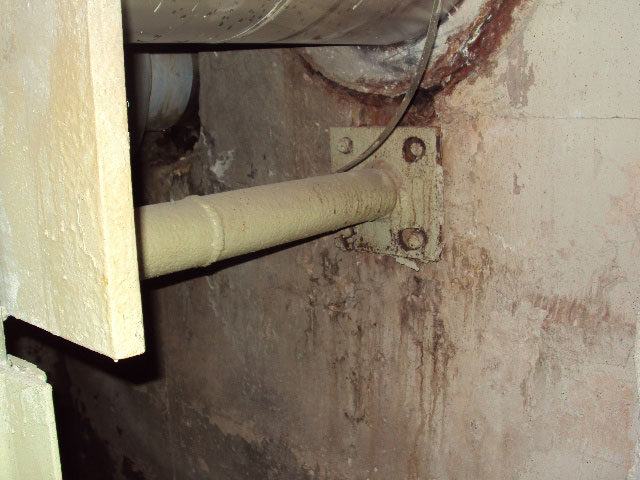
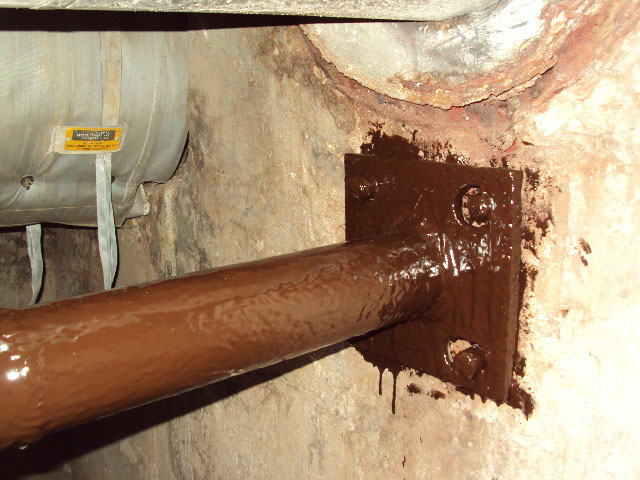
Manhole 9 STM Anchor Strut to West Wall
Manhole 9 STM Anchor Strut to West Wall
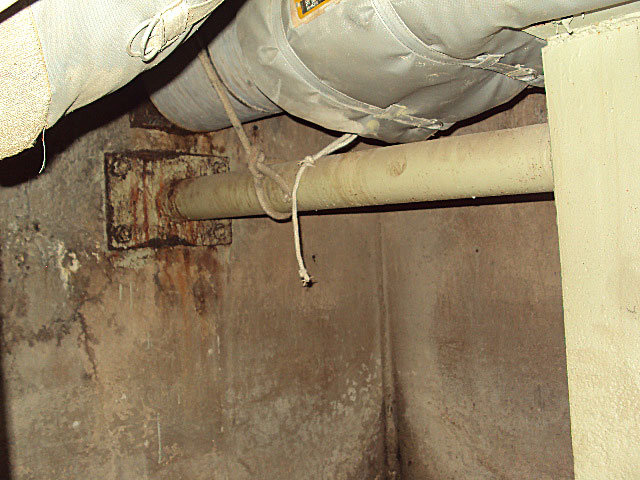
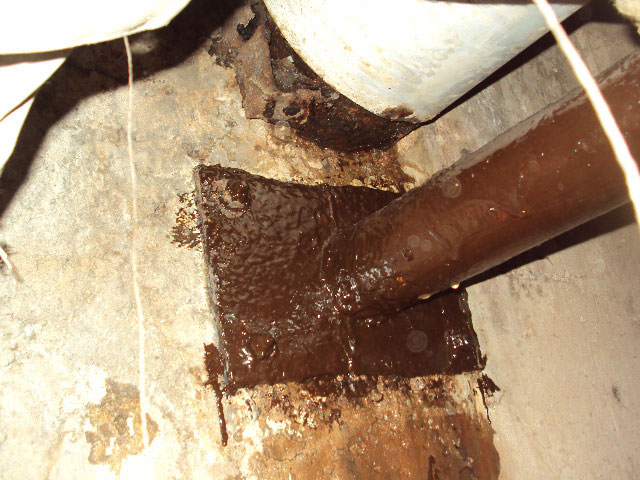
Manhole 9 CND Slip Jt Strut to East Wall
Manhole 9 CND Slip Jt Strut to East Wall
Manhole B2 Sparge Tube Support
Manhole B2 Sparge Tube Support
A Specialized and Focused Priority